
Welcome to the Restaurant365 Setup Assistant! To start using Restaurant365, you will need to review and complete the required Steps of each Section in the Setup Assistant.
To get started let’s review the navigation in our Setup Assistant window.
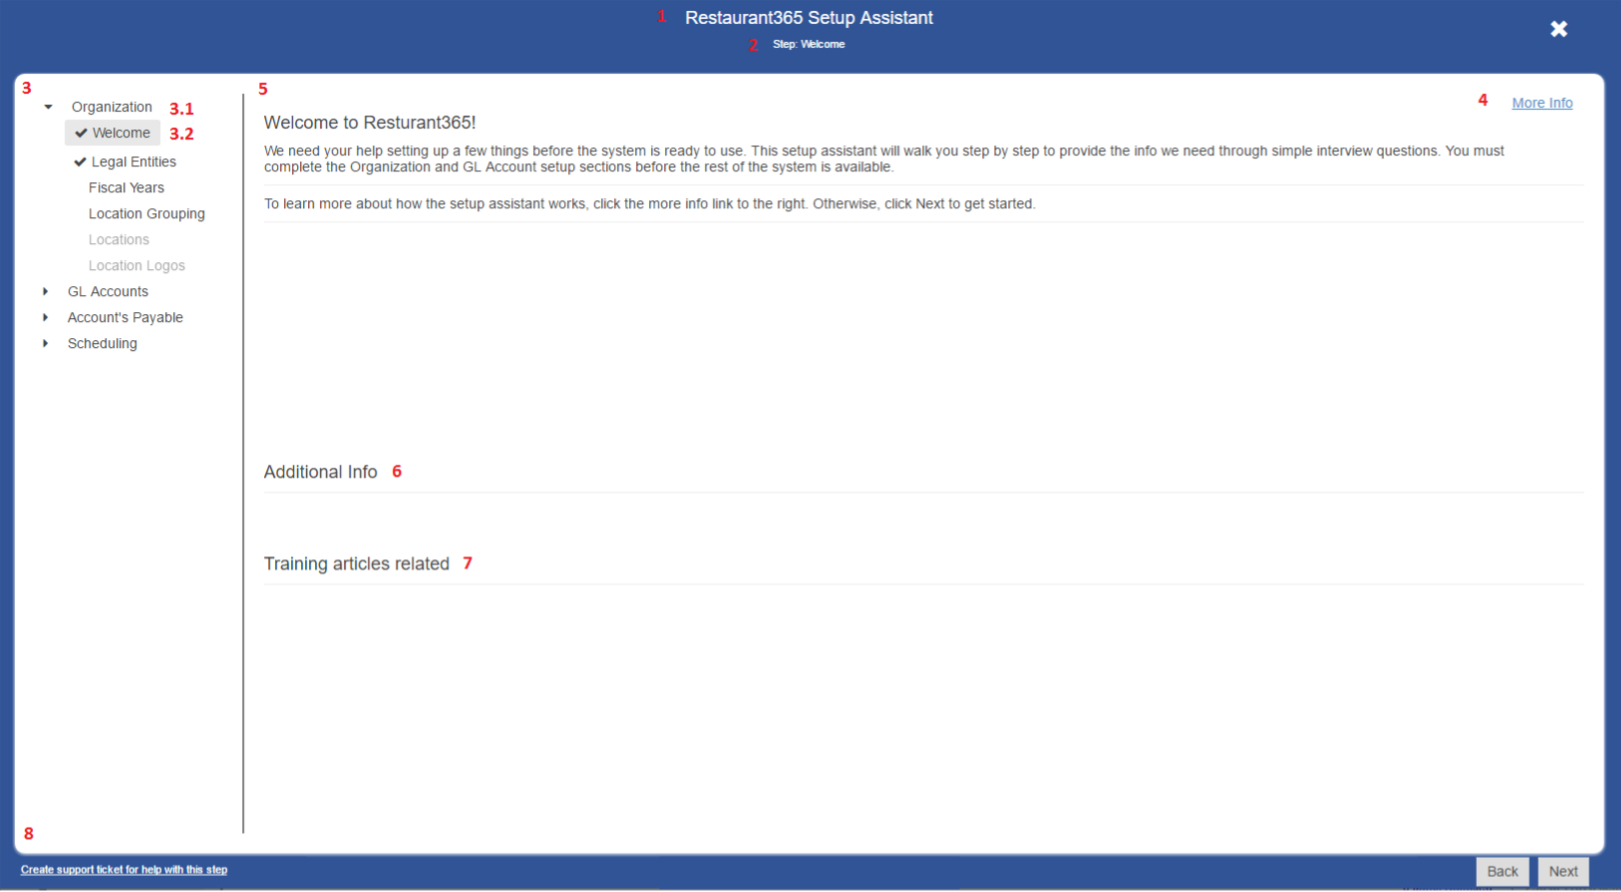
1) Header: The Header appears at the top of the Setup Assistant window. In the middle of the Header is the Setup Assistant title bar.

To the far right is the Close button (X). You will only be able to close the Setup Assistant once all required Steps have been completed.

You will be able to return to the Setup Assistant to complete non-required Steps should you need to do so.
2) Step: The step you are currently working on will appear immediately beneath the Restaurant365 Setup Assistant title bar.

As you progress through each Step in the Setup Assistant, you will see the step heading in the Header reflect the Step you are currently working on.
3) Navigation Area: All of the steps required to complete the Setup Assistant and start using Restaurant365 are listed here in the Navigation Area.
3.1) Sections: Within the Navigation Area, there are a number of Sections with Steps in each Section. The section you are currently working on will be expanded to show all of the Steps in that section. Additionally the Section name will have a grey box surrounding it, signifying that you are currently working in that Section.
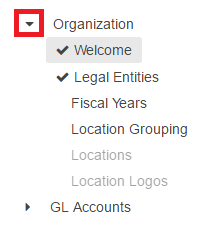
Each Section has an arrow immediately to the left of the section name that will allow you to expand or collapse the section.
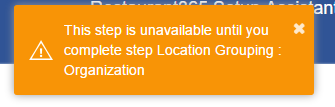
3.2) Steps: Each Section has Steps that must be completed. Some Steps require that preceding Steps be completed prior to working on those Steps. These Steps are greyed out, and will not allow the user to select them until the pre-requisite Steps have been completed.
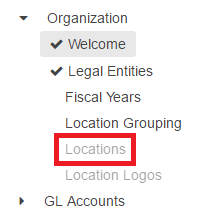
If you attempt to work on a step that is greyed out, you will receive a notification informing you that pre-requisite steps must first be completed.
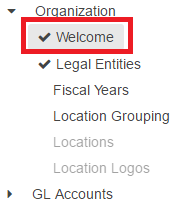
When a Step has been completed, a checkmark will appear immediately to the left of the Step name. This checkmark signifies that the step is complete, and has been saved.

4) More Info: Each Step in the Setup Assistant will have a link in the top right corner called ‘More Info’. When clicked, this link will produce a popup that provides the user with additional detailed information about the step that they are currently working on.

5) Main Window: The Main Window is where you will input your organization’s information in to the Setup Assistant
6) Additional Info: Immediately below the Main Window, the subsection Additional Info, will provide a sentence or two regarding additional information for the current Step. For more detailed information on the current Step, the link in More Info would provide the added detail.
7) Training Articles Related: If the current Step has Restaurant365 Training Articles that are associated with the tasks of the current Step, the links to those articles will appear in this subsection immediately below Additional Info
8) Footer: The Footer of the Setup Assistant window contains the Next and Previous buttons for advancing through the Steps and Sections. To the far left on the Footer you will find a link to create a Support Ticket for help with the respective Step.


